
While your bathroom might not hold a candle to a spa experience, a lack of fancy tools or professional products should never stop you from indulging in an at-home ritual. An at-home facial is one of the best ways to keep your skin looking refreshed between spa treatments. You can even elevate the experience by setting the scene with soft lighting and including innovative treatments like flash facials. Here are a few steps to boost your skin care regime with an at-home facial in between spa visits.
Quick Guide: At-Home Facial Steps
Step 1: Prepare products: Pull hair back, remove makeup with an oil cleanser and optional eye makeup remover.
Step 2: Cleanse: Double cleanse with a foaming or gel cleanser to remove buildup and reduce puffiness.
Step 3: Tone: Apply toner to face, neck and décolletage to complete cleansing and protect the skin.
Step 4: Steam: Steam for up to 10 minutes to open pores and prepare for exfoliation.
Step 5: Exfoliate: Massage a gentle exfoliant to remove dead skin cells, rinse thoroughly.
Step 6: Mask: Apply a thin layer of facial mask, leave on 5–10 minutes then rinse.
Step 7: Massage: Use a facial oil or moisturizer for a 5–10 minute massage to hydrate and relax muscles.
Step 8: Apply serum: Choose a serum that targets your concerns, massage evenly into skin.
Step 9: Eye care: Use eye cream to reduce puffiness, circles or fine lines.
Step 10: Moisturize: Finish with a moisturizer to lock in hydration.
What Is a Facial?
A facial is a professional skin treatment designed to give the complexion deeper care than daily routines can provide. By combining cleansing, exfoliation, hydration and targeted therapies, facials help improve clarity and refresh your skin’s overall appearance. Many estheticians also view the skin as a reflection of internal health, since issues like dryness, dullness or breakouts can sometimes point to nutritional gaps or lifestyle stressors. While a facial itself is not a medical diagnosis, it often highlights the connection between skin health and overall well-being.
Now, not all facial treatments are safe — or even possible — to perform on your own. Due to the precision and experience required, extractions should be avoided at all costs. Professional-level chemical peels are also not wise to attempt yourself as they can cause pigment irregularities and even scar your skin permanently when they are misused. Even without these more advanced spa treatments, you can give yourself an hour of skin pampering that will reset your complexion.
Although nothing will replace the expertise and experience of a professional treatment, an at-home facial can maintain the health of your skin until your next opportunity to visit your esthetician. If you do want a professional facial peel, we recommend visiting your nearest Eminence Organics Spa Partner to learn more.
Why Give Yourself a Facial at Home?
Experts advise a facial once a month for problem skin or every time you enter a new climate or environment. Facials are an extension of your other skin maintenance, like exfoliation, dermaplaning or masks.
A facial is also a chance for you to disconnect from everyday life and relax into leisure time. They should be done at night when your skin is most ready to repair, so think of facials as another method to unwind. Your skin also renews every 20–30 days, so you’re likely to see results within several weeks of your facial.
How To Give Yourself an At-Home Facial
Light some scented candles, put on the most relaxing, meditative music you can find and line up the facial care products you need. First up is a guide to an at-home facial for most skin types. If you have acne-prone skin, please skip forward to the next section designed for you.
Here is your step-by-step guide to giving yourself a quality facial:

Step 1: Prepare Your Facial Products
Make sure you pull your hair away from your face and secure it with a headband or towel so you can apply your skin care products easily. Now, it’s time for makeup removal! Start by applying an oil cleanser before rinsing or removing with a warm washcloth. If you’re battling against stubborn eye makeup, in addition to the oil cleanser, you can pour a little eye makeup remover onto a cotton pad and wipe your eyes gently.
Step 2: Cleanse
After removing your makeup, double cleanse by massaging a small amount of another cleanser, preferably a foaming or gel formula, into your face and neck for 1-3 minutes (dilute with water if needed). Not only do facial massages allow your skin to better absorb the product, but they encourage the drainage of buildup in your face that causes puffiness. Make sure to push the skin up as you massage to give your face a natural lift. Gently smooth forehead and eye area wrinkles as you go. This will relax the facial muscles. Rinse thoroughly.
Step 3: Tone
Next, spray or apply toner with cotton pads. Remember the neck and décolletage (avoid the eye area here), as they are the first areas, other than the face, to show age. Toners are essential to complete the cleansing process and protect the skin from environmental stressors.
Step 4: Steam
If you particularly enjoy facials that get a little steamy, never fear — this is something you can definitely DIY. Pour boiled water into a large bowl and place your skin six inches away while covering your head with a towel to trap the steam. This will open your pores and prepare your skin for exfoliation and absorption. You can steam up to 10 minutes, two minutes at a time.
Step 5: Exfoliate
Gently massage an exfoliant into the skin. Be careful not to scrub or drag, particularly around the delicate eye area where the skin is thinner. Massaging an exfoliant onto your skin gently removes dead cells and any remaining dirt or makeup. Rinse thoroughly.
6: Facial Masking
It’s masking time! Apply a thin, even layer of your mask (it may be tempting to go thick, but it’s not necessary) and leave on for 5–10 minutes before removing with a damp face cloth. For extra facial benefit, employ massaging techniques to maximize absorption and natural lift. Remember to include your neck and décolletage.
Step 7: Massage
To deeply hydrate the skin, reach for your facial oil or moisturizer for another massage. Make sure to avoid acne-prone areas. Gently knead your face for 5-10 minutes before rinsing the product off.
Step 8: Apply Serum
Now to lock in the moisture: Apply a serum that suits your skin and massage into the skin in circular motions. For example, the Citrus & Kale Potent C+E Serum has a potent dose of non-irritating vitamin C that brightens the appearance of all skin types. You can leave most serums on and follow with a moisturizer (only two steps away!).
Step 9: Eye Care
Next you want to target dark undereye circles, puffiness or fine lines around your eyes. Reach for your favorite eye cream, lightly blending and tapping the product until it’s absorbed.
Step 10: Moisturizing
Take your moisturizer and apply a thin layer to the face, neck and décolletage. And you’re done with your first at-home facial! If you deal with acne, and you’re concerned that any of the steps would trigger further breakouts, see below for insights on how to give yourself a facial designed for acne.
Optional Step: Facial Contouring
If you want to improve the look of puffiness, redness or conditions like rosacea, cold therapy can help. It works by reducing the look of inflammation, leaving the complexion refreshed and toned. For an at-home option, try the Eminence Organics Cryo-Thermal Sculpting Tool. This stainless-steel wand can be cooled to reduce puffiness and the look of redness or warmed to relax facial tension. A few minutes of gliding the tool across your face after moisturizing is all it takes to soothe, lift and brighten your skin.
Facial Steps at Home for Acne Prone Skin
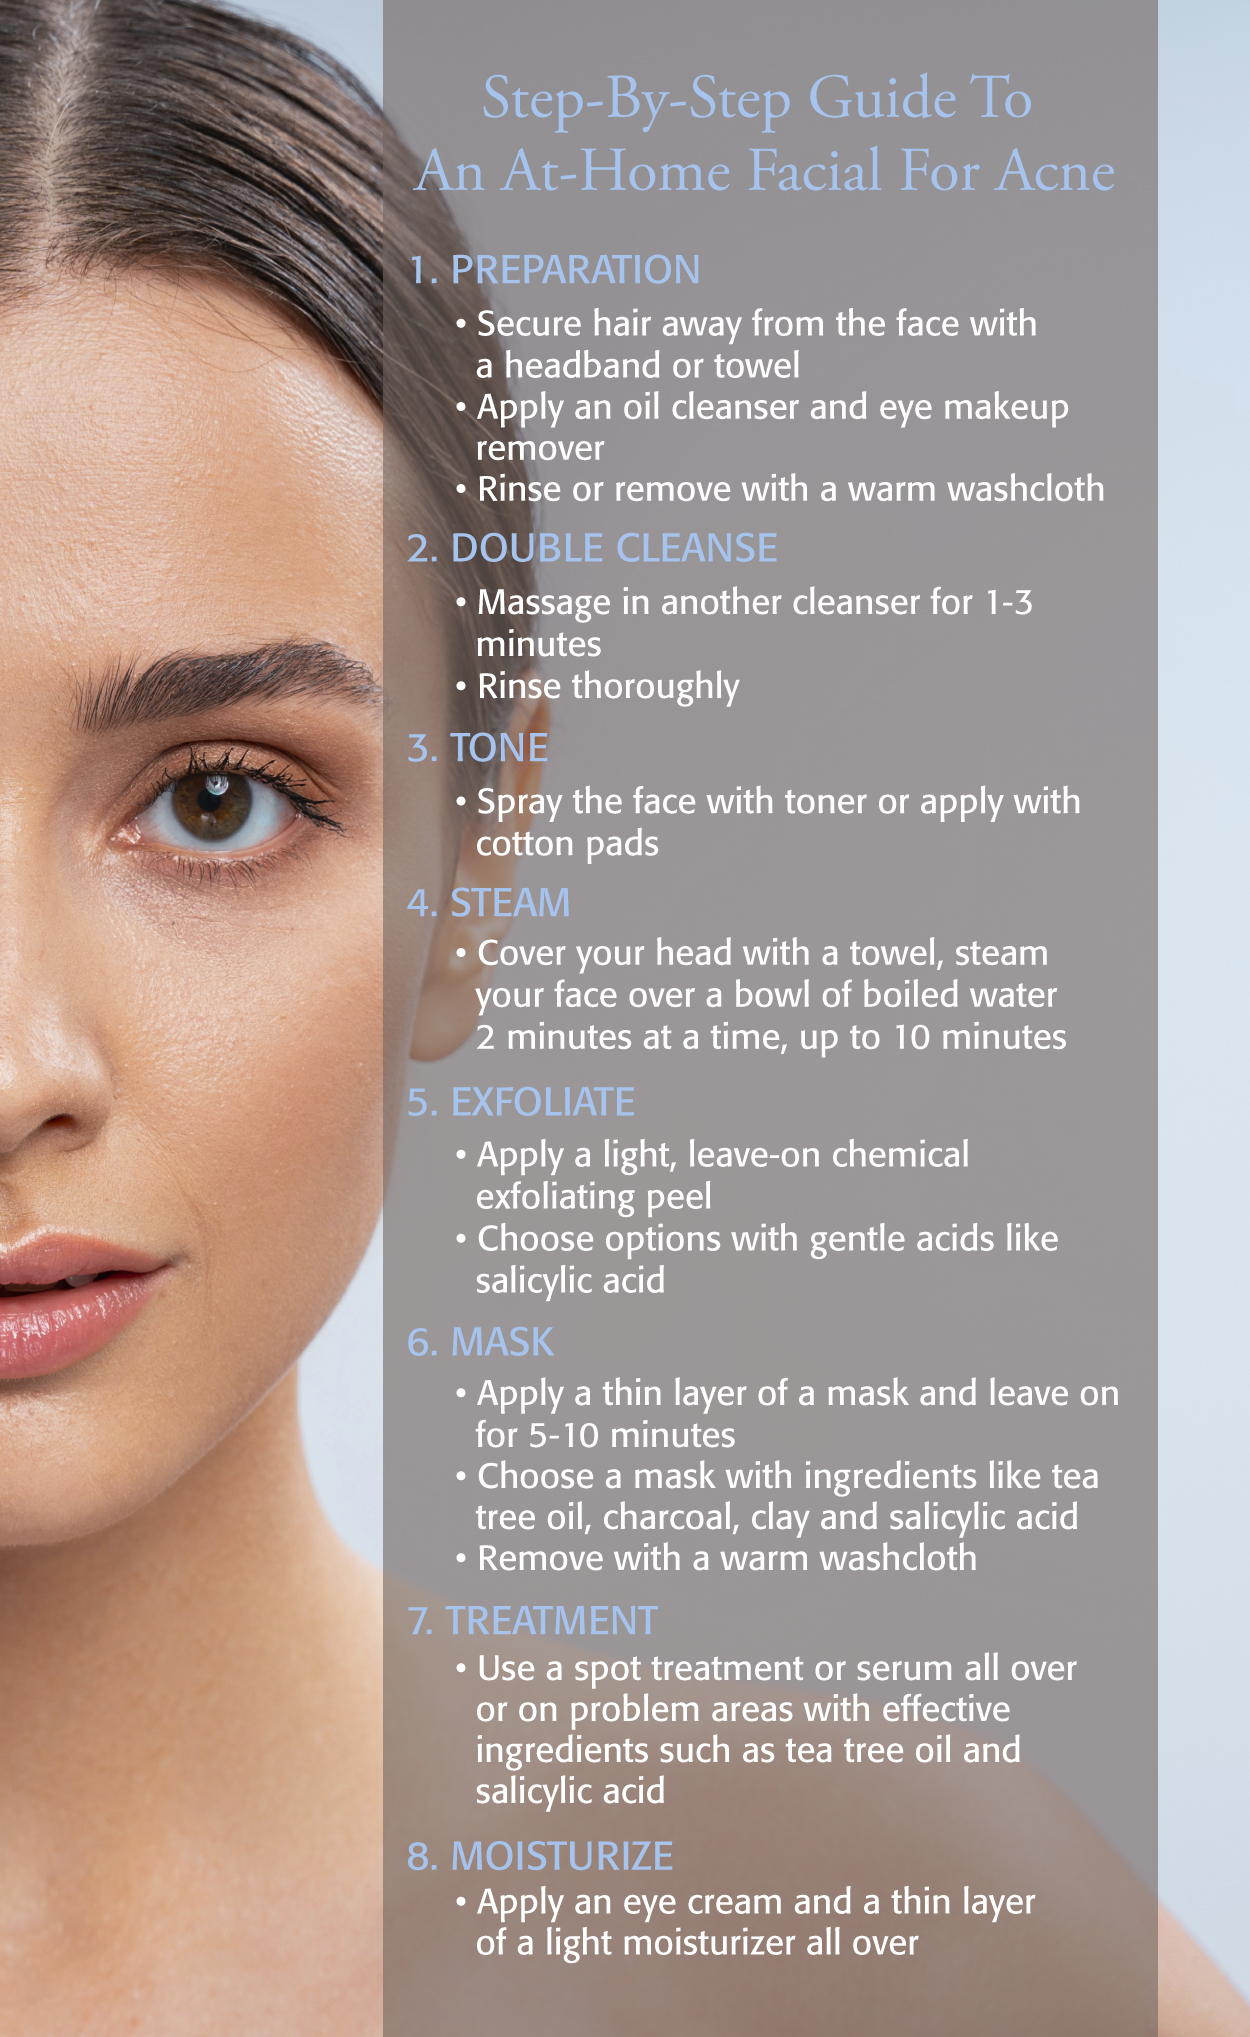
If problem skin is your specific concern, you may wonder if it's still possible to give yourself a facial at home. Although you will need to take special care, an at-home facial can still be accomplished in a safe and effective way. Here is our step-by-step at-home facial guide for acne:
Step 1 to 4: Same as Above
Follow the same first four points to "Facial Steps At Home."
Step 5: Exfoliation
If you’re experiencing active acne breakouts, you’ll want to avoid physical exfoliating scrubs in those areas. You can use a light chemical exfoliating peel with gentle acids that exfoliate without irritation and include natural ingredients like salicylic acid from willow bark.
Step 6: Mask
Apply a thin layer of a mask with fingertips to cleansed skin, avoiding the eye area. Dilute with water for easier application. Leave on for five to 10 minutes. Remove with a damp face cloth. Tea tree oil, absorbing charcoal, clay and salicylic acid are active ingredients that clear your pores and help with breakouts.
Step 7: Serum
Treat your skin with a spot treatment or a serum all over that contains acne-fighting ingredients like salicylic acid or tea tree oil.
Step 8: Moisturize
Don’t forget this finishing step, even if you do experience breakouts. Apply eye cream and a thin layer of a light moisturizer to the face, neck and décolletage.
Even after completing one of these two facials, the pampering is not complete!
How To Elevate Your at‑Home Facial
Once you have your basic facial routine down, elevating it with targeted enhancements can make a noticeable difference. Try integrating one or two of the following enhancements to mirror professional-level results at home.
Flash Facials
Flash facials are perfect when you’re short on time but want to refresh and smooth the skin quickly. These express treatments use multi-tasking products and can easily fit into your weekly or even daily routine.
You have two great options with Eminence Organics products. For a gentle yet invigorating boost, try blending the Stone Crop Gel Wash with the Stone Crop Oxygenating Fizzofoliant™. Mix equal parts of both products with water, then apply the mixture to your face using a brush or fingertips. Massage in circular motions over the face, neck and décolletage for 2–3 minutes, then rinse thoroughly and pat dry.
Alternatively, our Lead Skin Care Trainer Natalie Pergar demonstrates a second method in an In The Mix video using the Mangosteen Daily Resurfacing Cleanser and Strawberry Rhubarb Dermafoliant. Combine a chickpea-sized amount of the cleanser with 2–3 shakes of the dermafoliant and a few drops of water.
Gently massage into the skin with small, circular movements, working from forehead to chest. Rinse and pat dry.
To complete your flash facial, follow with your favorite toner, serum, moisturizer and SPF.
Facial Massage Tools
Natural massage tools such as gua sha stones, facial rollers, and cryo-thermal wands are ideal for reducing puffiness and enhancing skin tone. These tools help with lymphatic drainage, relax facial muscles, and support a sculpted, lifted look. Use after applying a facial oil or moisturizer, moving from the center of the face outward and upward.
Microcurrent & Cryo-Thermal Alternatives
Facial tools like gua sha stones, rollers, and cryo-thermal devices can help reduce puffiness, support lymphatic drainage and enhance skin tone. These tools also help relax facial muscles and improve product absorption, giving your skin a more lifted and sculpted appearance. Use after applying facial oil or moisturizer, moving from the center of the face outward and upward.
To elevate your results, try the Eminence Organics Cryo-Thermal Sculpting Tool, a dual-action tool that can either be cooled to reduce the look of redness and puffiness or warmed to relax tension and soften expression lines.
What Not To Do for an at‑Home Facial
While at-home facials are a wonderful way to tend to your skin between spa treatments, it's worth reminding you that there are some things best left to professionals. Here are a few things to avoid during your do-it-yourself facial:
Avoid Extractions
Popping or squeezing pimples can lead to scarring, infection, or chronic texture issues with the skin. Extractions should be left to professionals who are trained in the proper technique and use of sterile instruments.
Don't Use Dirty Tools or Towels
Wash your hands, brushes, and any tools thoroughly before and after use. Dirty equipment will transfer bacteria onto the skin and cause breakouts or irritation.
Avoid Harsh Peels & High-Strength Acids
Professional-strength peels and high concentrations of actives such as AHAs or BHAs should never be attempted at home. Used incorrectly, they can cause burns, pigment irregularities and long-term barrier damage that leaves your skin more reactive and sensitive than before. Instead, choose gentle exfoliating products that are formulated for at-home use, and always follow the recommended directions to protect your skin.
Don't Over-Exfoliate
Using more than one exfoliating product simultaneously will compromise the skin barrier. Use only one exfoliant on each facial and always follow up with calming products like a serum or moisturizer.
By avoiding these common mistakes, you can enjoy a relaxing and effective facial that helps you achieve a healthy, glowing complexion all year 'round.
We’d love to hear how you elevate your at-home facials. Do you use tools, flash facials or your own techniques? Share your favorite steps with us in the comments and join the conversation on social media.


